
After you are done reading this post, you will not learn the subtle differences between the stock and its rival. Growing up, I watched my mother make bouillons using chicken or beef (whatever was available). The trick lied in using the meat attached to the bone. So, this is exactly what I still do today – I cook bouillons, and I don’t worry myself with the intricate differences between the stock and the broth. However, I’ve added a few ingredients to my mother’s recipe to make the bouillon more flavorful.
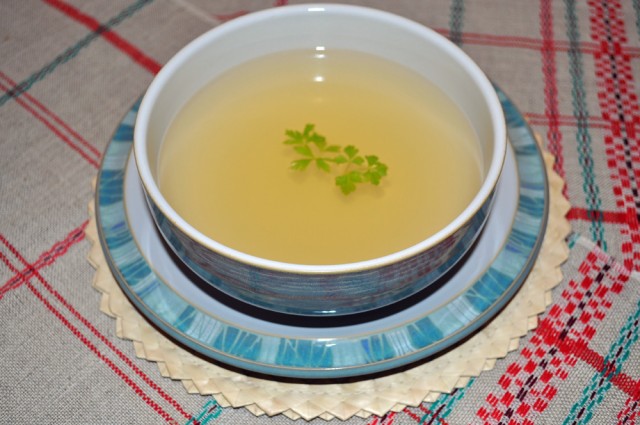
A great thing about having bouillon in your fridge is that you can always have soup in a matter of minutes. Just heat it up, add some parsley or dill, salt and pepper to taste, and you have a delicious homemade bouillon! You can always add some crackers to it, an egg, pasta, shredded chicken or beef, or rice – whatever you find in your pantry or fridge – to make it more filling. Of course, you’d have to cook your eggs, pasta, or rice prior adding them to the bouillon.
So, what will you need for cooking the bouillon? To make about 2 quarts of the bouillon, you’ll need a 3-4 quart pan. You can use a 2 quart pan too; you’ll just have to settle for less bouillon. I always try to have frozen chicken legs, thighs, even wings will do too. You can buy a whole chicken and then cut it into 6-8 pieces, freeze each piece separately, and use them for making bouillons. I prefer to buy chicken quarters. (Hint: look through your local grocery store papers, you may find this item on sale!) You’ll also need a medium onion, unpeeled, one medium carrot, and one stick of celery. Once you have these ingredients, you are ready to start cooking!
Chicken Bouillon
Ingredients:
8-10 – cups of water
1 – chicken quarter
1 – medium onion
1 – medium carrot
1 – celery stick
4-5 – whole peppercorns
2-3 – bay leaves
stt – salt to taste

Step 1: Rinse the chicken and place it into a 3-4 quart pot
Step 2: Wash the onion, the carrot, and the celery stick. Note: Do not peel the onion; leave its orange-brown skin on. The skin will add a nice yellow color to the bouillon.
Step 3: Place the vegetables into the pot. Pour 8-10 cups of water. Add salt to taste. I usually add about 1 Tsp of salt, as I can always add more salt later, after I can taste the bouillon. If you enjoy the taste of pepper and bay leaf, you can also add 2-3 bay leaves and 4-5 whole peppercorns. Once the water starts boiling, reduce the heat. Let the bouillon cook for about an hour.
Step 4: Once the bouillon is cooked, let it cool off. Use a fork to take out the chicken and the vegetables. Strain the bouillon.
Note: I use a colander to strain the bouillon. I line it with a paper towel, place the colander securely on top of another pot, and slowly pour the cooled off bouillon. This way most of the fat remains on the paper towel, and my bouillon is practically fat free.
If you prefer beef bouillon or happen to have a beef bone in the fridge, then you can substitute chicken for beef, and use the rest of the same ingredients.
I never tried celery before I came to the States, so celery is something that my mother did not use in her cooking. Hence, if you happen not to have it, then you can still make the bouillon. It’ll be just less flavorful, in my opinion.
December 9, 2010
Related Articles


0 Comments
Add comment
Leave a Reply
You must be logged in to post a comment.